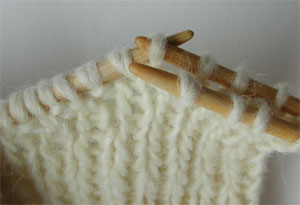
(1) With right side facing you, slip knit and purl stitches onto separate needles. Place knit sts onto front needle and purl sts onto back needle. Repeat for remaining piece to be joined. |
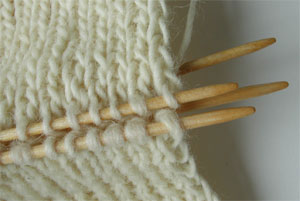
(2) Working on what will be the outside of the sweater facing you, hold needles of both pieces with knit stitches together. |
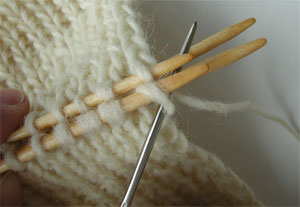
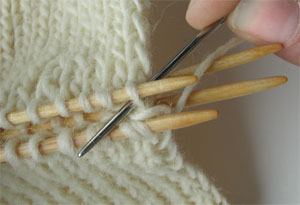
(3) Thread tapestry needle and insert it knit-wise into first stitch on front knitting needle... |

(4) ... and slip it off the knitting needle. |
(5) Insert tapestry needle purl-wise into the next stitch on front knitting needle but do not slip the stitch off the knitting needle as you pull the yarn through. |
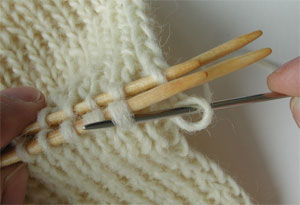
(6) Insert tapestry needle purl-wise into the first stitch of the back knitting needle... |
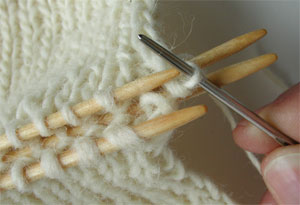
(7) ...and slip off. |
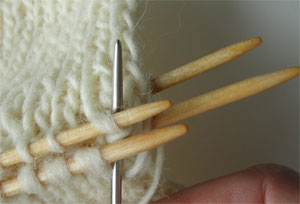
(8) Insert tapestry needle knit-wise into the next stitch on back knitting needle but do not slip the stitch off the knitting needle as you pull the yarn through. |
(9) Make sure as you take the threaded yarn on the tapestry needle back and forth between the front and back needles, you keep it between the upper and lower sets of knitting needles. Repeat Steps 3-8 for remaining stitches. |
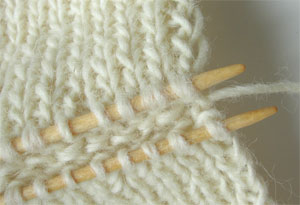
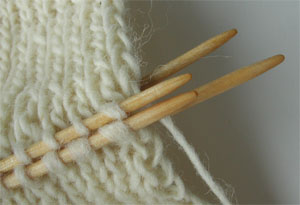
(10) When you have completely removed all stitches from the top set of needles, flip the sweater over and work the two remaining needles the same way. |
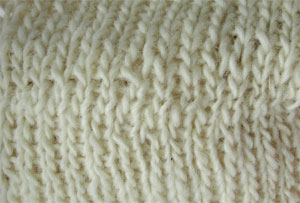
(11) The right side of the completed seam. |
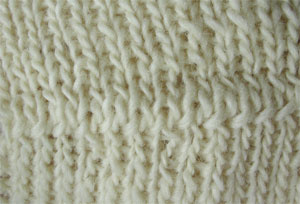
(12) The wrong side of the completed seam. |